

From the Availabilities section, pick the starting time for the activity.

Here you’ll find a list of all activities created for you. Click on any activity to start the booking process, or click on ‘More Details‘ to get a detailed description and view images of each activity.
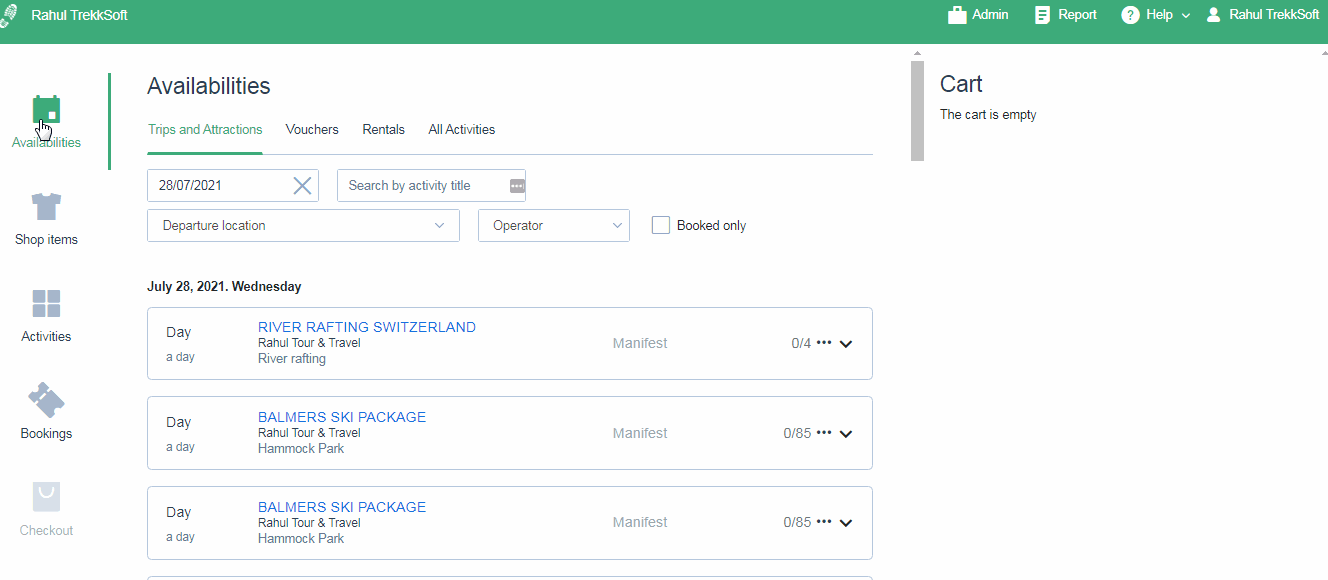
You can filter your activities by any of the following:
- Activity title
- Departure location
- Operator

After finding your activity, select the number of guests you would like to add to the cart by clicking on the `+` or typing in the number.

You can also add Add-ons to your bookings. For Guest-Bound Add-ons, select the Guest then select “Add add-ons“. For Single Item Add-ons, specify the number of items you want to add to the basket.

When you’re happy with your selection, click on Checkout at the bottom right corner.

At Checkout, you’ll have an overview of everything you’ve added to your cart. Take this opportunity to go through the booking and modify anything if needed. You will have to Add guest info, and you can change the agent, or the buying user.
When you’re done, click on Pay in the bottom right.

To get going, select one of three options:
- Reserve without payment (No payment made at the time of booking)
- Book as paid (Payment made in cash)
- Pay now (Payment made via the POS Desk with a credit card, only available via Payyo)
Once the reservation or payment is complete, the booking will be confirmed and a new basket will be created.
Note: Keep in mind that the payment methods available to an agent depend on the user permission agreed for the agent.

You will then be redirected to the newly created basket.

You have two options here to mark the booking. Reserve without payment and take payment later via the payment link or Take cash on the counter and Book as Paid.


